|
.......................................................

Many of the activities on these pages may require adult supervision.
Be sure to tell a grown-up about what you're planning and ask for permission before getting started.
It's the book holder with sides and a handle.
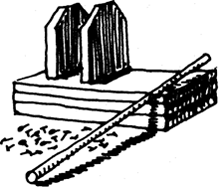
1. Get Materials, Measure, Cut
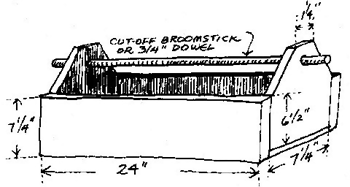
To make the toolbox you will need an 8-foot board of 8-inch pine measured and cut as for the book holder.
Then cut two more 24-inch pieces from the rest of the board. You will also need 24 inches of either 3/4-inch dowel or broomstick.
2. Drill Holes
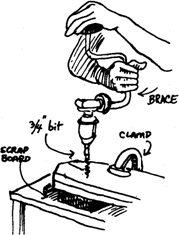
Mark a hole 1 inch down from the top, exactly in the middle of the
angled end corners. Measure to
find the spot. Then clamp both end
boards down with a piece of scrap wood underneath them. Using a brace with a 3/4-inch bit, drill through both end boards but not
through the scrap.
3. Nail Together
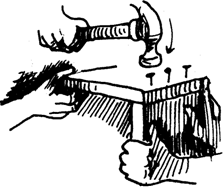
Follow the instructions for gluing and nailing the book holder together.
4. Add Sides
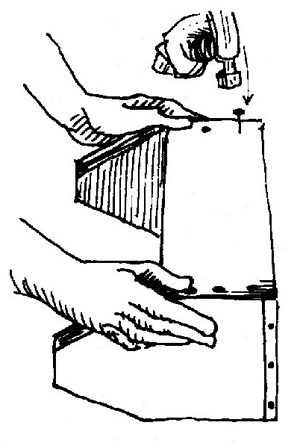
Turn the book holder on its side. Take one of the two 24-inch pieces and set it down on the sides so you can see where it fits. Put glue where the new board meets the book holder. Nail in place. Do the same with the remaining board on the other side. Let all glue dry.
5. Add Handle
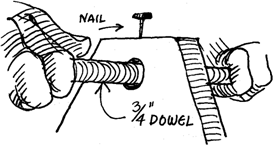
Push the broomstick or dowel in from one side until it fits through both holes. Drive a nail in from the top of each end of the toolbox to hold the handle in place.
6. Stain or Paint
Sand every surface. Brush away sawdust. Stain or paint, following the directions on the can. If you have to use oil-base paint or stain and turpentine to clean it up, don't throw your clean-up cloths and papers into a closed container where they could spontaneously ignite and start a fire. Better to use a water-base substance and be safe. Clean up.
Click here for BIRDHOUSE
Click here for MORE IDEAS!
|

